
Creating an iPhone app demo video [ 23rd June 2011, 20:43:07 ]
How do you create video demos of iPhone and iPad apps that you have developed? Below describes the applications you'll need for creating the videos, and the steps you need to take to do this.
For example app video demos please take a look at Kev's Apps video demos
What applications you need
I did this on a MacBook Pro with the following
- Xcode 4.0.2
- QuickTime Player 10.0
- iMovie '09
How to create the video demo
- Get a black image e.g. create one in photoshop and drag it so it is fall screen as possible, If you're lazy download a black background here
- Run xcode iPhone simulator, and then exit your app, and close your app using the multi tasking bar
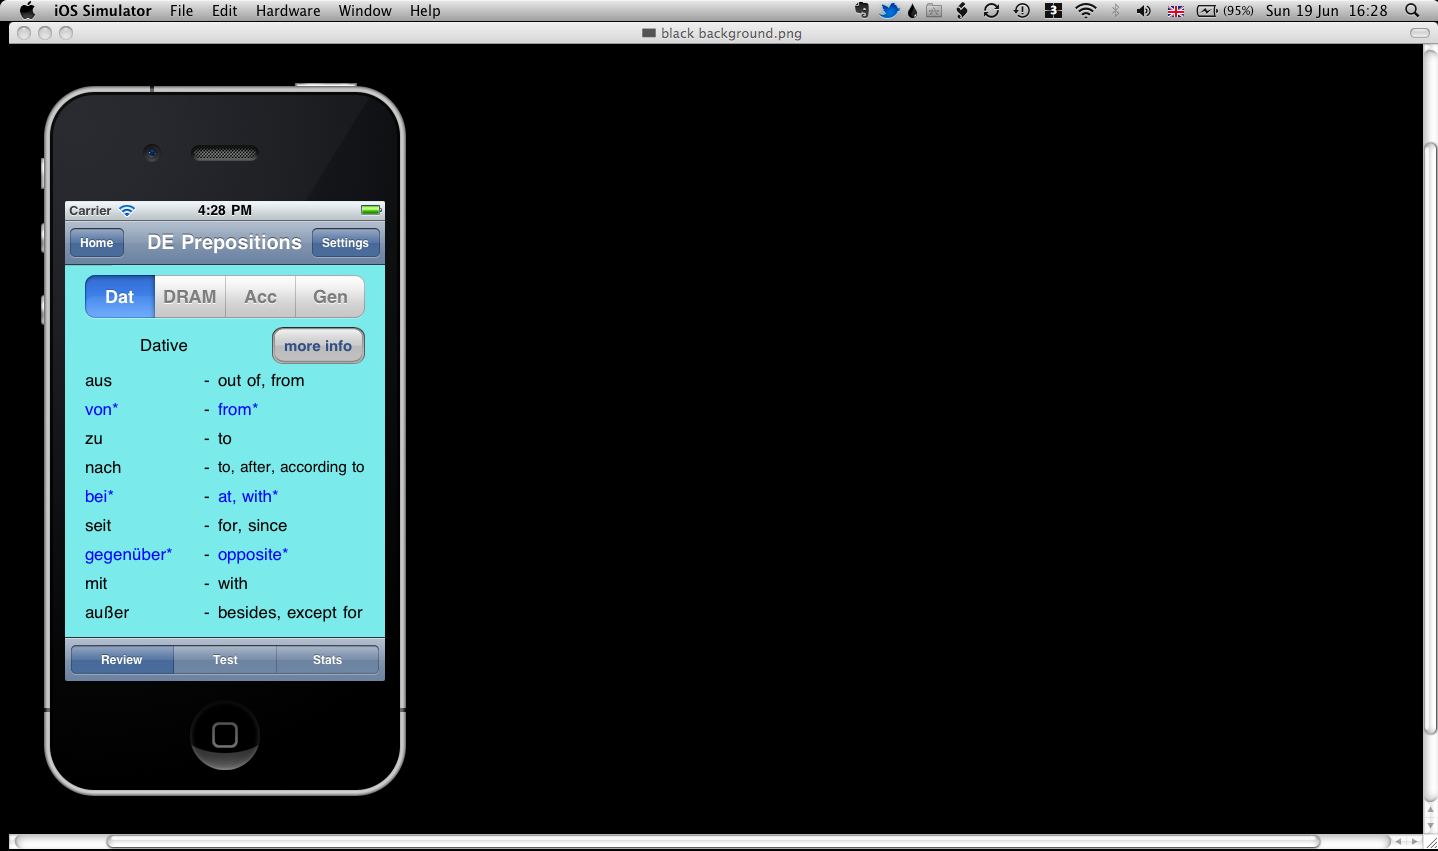
- You should now make sure the black background is shown (you can use mac preview by double clicking a black image and zooming in), with the iPhone simulator in front of it, now start the app and start interacting with it as you require.

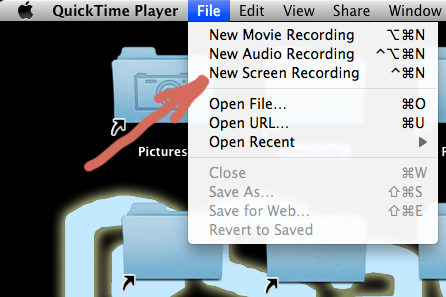
- Load QuickTime Player 10.0
- Go to File > New screen recording
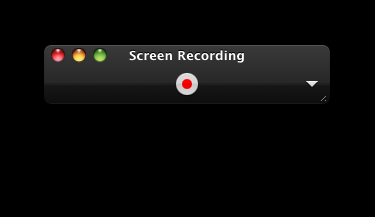
- You'll get the following window open, click the record button
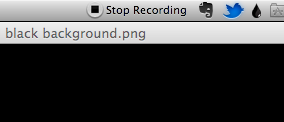
- Once finished (don't worry if you make any mistakes we're going to edit the video later) stop the recording, do this by clicking stop on the status bar, see picture.
- The recorded video will now appear, and you should then save this somewhere, movies folder?
- Now you can close down these apps and open iMovie
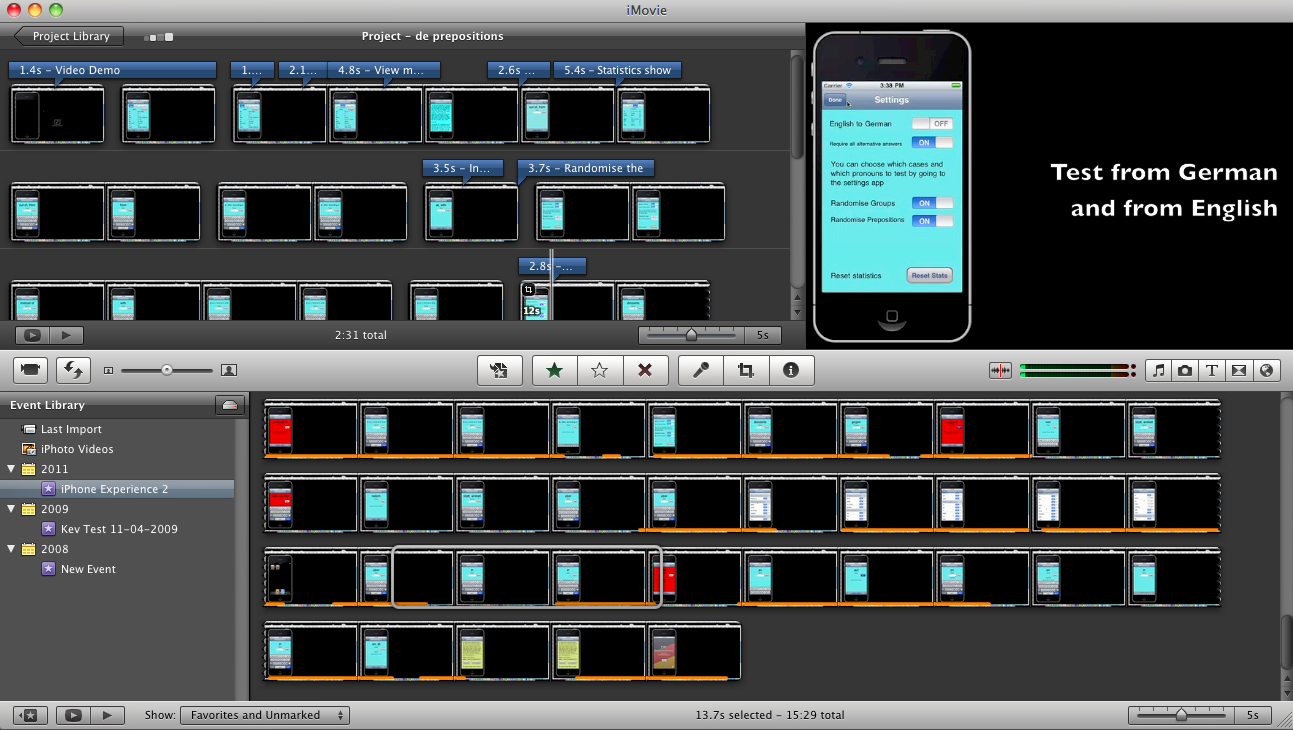
- In iMovie create a new project
- Go to File > Import > movie, and import the screen recording you have created.
- Roughly select the sections you want from the screen recording and drag into your project.

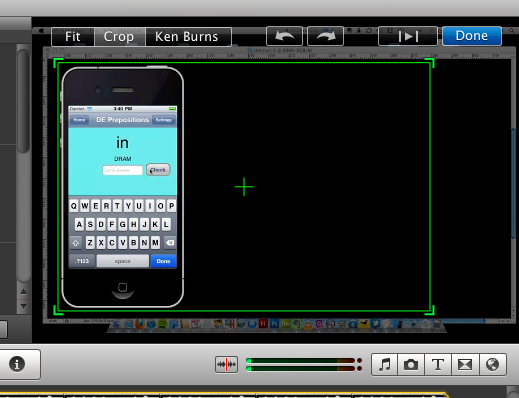
- Now go to Window > Cropping, Ken Burns & Rotation see screenshot
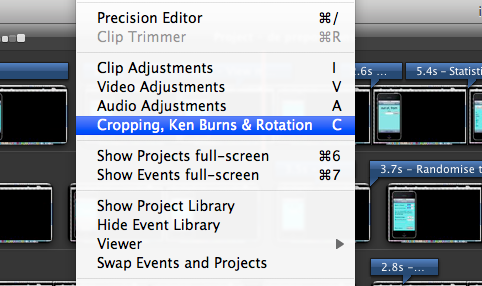
- Then you will be able to crop the video, see screenshot, clicking the crop option, and dragging the square to size it, and moving it to where you want to, in order to include the whole iPhone in the video, click done to complete the cropping.
- Now go through and edit the video down to make it flow correctly, and use the text tool, to add text in different places in your video, and of course you can add an audio track if you require.
- Once the video is edited and ready, go to Share > Export Movie, choosing large is usually good enough for youTube, and then for running on the iPhone and iPad via youTube.
- Once generated upload the video to YouTube as appropriate